This article covers how to enable a new connection to the Detectify Slackbot with the new integrations.
Creating the Connection
Navigate to the Manage tab on the Integrations page. Under the Detectify project, click Create > Connection.

Then, select Workbot for Slack and click Connect. A popup will open where Detectify is requesting permission to access your workspace. Click Allow to continue.

After the connection has been established, you will be able to find it under Connections > Connected.

You can confirm that the Slackbot has been installed by checking the installed apps in your Slack Workspace. There you should see the app called Detectify.

Inviting @Detectify to your channel
For the Slackbot to get access to the channel where you want it to post, you need to invite it to that channel. This can be done in a few different ways, but the easiest way I've found is to simply type "@Detectify" and send it as a message inside the channel and then click Invite Them.
Using the connection in a recipe
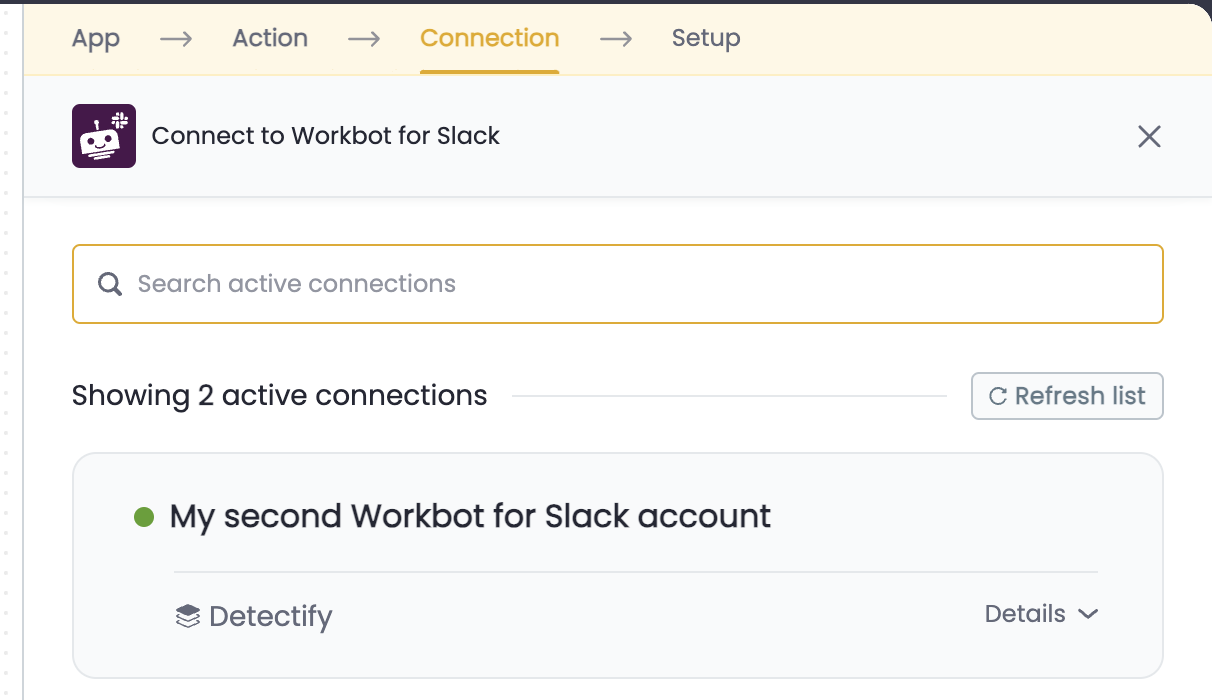
Create a new recipe or use one of the recipe templates that are prepared for you. For the Slackbot step, select your connection.

Either write the channel name you want to use which looks like this

or, from the dropdown, pick Select from list and search for the channel you want to use. If your channel cannot be seen, ensure that you have invited the Slackbot to the channel by typing "@detectify" and inviting it to your channel. If the channel is private, you will not see that channel as an option if the Slackbot is not added to it.

When you are happy with the message format you are ready to go.
